Overnight Floor Marking Installation Guide for Facilities
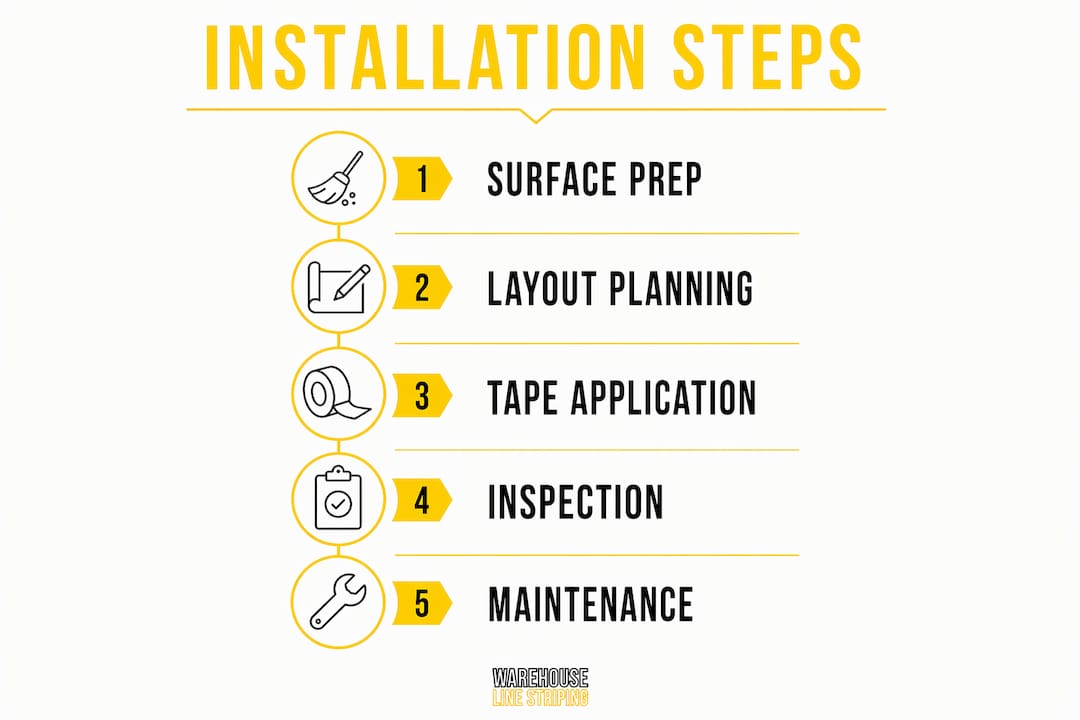
An overnight floor marking installation is a structured process that delivers OSHA-compliant, durable floor markings within a single shift, with zero disruption to daytime operations. The industry term for this process is “planned marking stoppage,” and it requires precise surface preparation, accurate layout, and correct tape application to succeed. Improper surface cleaning causes 90% of adhesive failures, which means preparation is not optional. Facility managers and logistics coordinators who follow a structured overnight floor marking installation guide consistently achieve markings that last years, not weeks. Warehouse Line Striping has completed over 10,000 projects using this approach, and the results confirm that process discipline separates lasting installations from costly failures.
What are the essential tools and materials for overnight floor marking installation?
Every successful overnight installation starts with the right equipment on the floor before the crew begins. Missing a single tool mid-shift wastes time and forces shortcuts that compromise bond quality.
The core materials fall into three categories: surface preparation supplies, layout tools, and application equipment. Each category is non-negotiable.

| Tool or Material | Role in Installation |
|---|---|
| Industrial degreaser | Removes oils, grease, and contaminants from the floor surface |
| Isopropyl alcohol (70%+) | Second-stage wipe to eliminate fine residue and chalk particles |
| Chalk line or laser level | Marks layout guides before tape is applied |
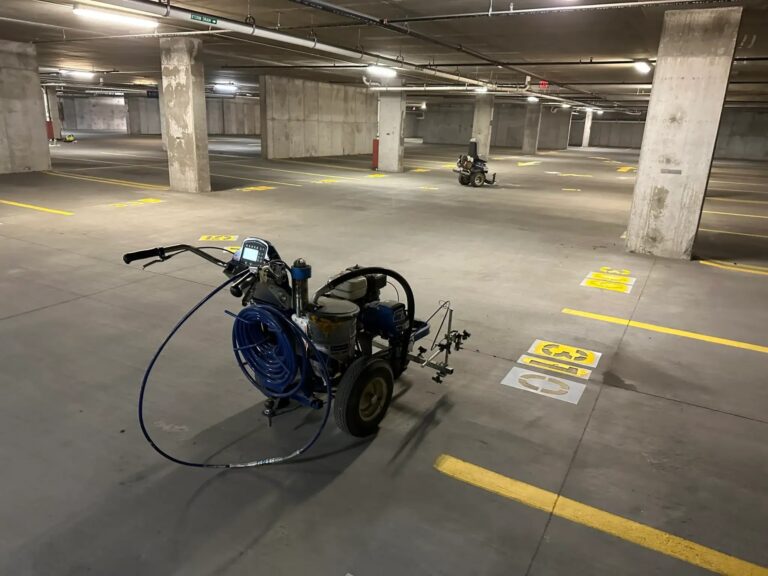
| PVC industrial floor tape | Primary marking material rated for forklift and foot traffic |
| Floor tape applicator or roller | Applies consistent pressure to eliminate air bubbles |
| Fast-setting concrete patch | Repairs minor surface defects before tape goes down |
| Measuring tape and marking chalk | Confirms aisle widths and intersection positions |
PVC carrier tape is the standard choice for overnight installs. It bonds quickly, tolerates temperature variation, and handles heavy traffic once fully cured. PVC adhesives reach working strength in 1–2 hours, which fits the overnight window without requiring extended downtime.
Floor temperature matters more than most facility managers expect. Tape adhesives perform best when the floor surface is between 50°F and 100°F. Cold concrete slows adhesion and increases the risk of edge lifting within the first week. Check the floor temperature with an infrared thermometer before the crew starts, not after.
Pro Tip: Investing in professional floor marking applicators saves time and ensures reliability, especially for large overnight projects. A quality roller applicator covers more ground per hour than hand pressure alone and produces a more consistent bond across the full tape width.
How to prepare the floor surface for a successful overnight installation?
Surface preparation is the single most important phase of any floor marking project. Tape failure is primarily due to floor condition, not tape quality, which means even premium tape fails on a dirty or damaged floor.
Follow this sequence every time, without skipping steps:
- Clear the area. Remove all pallets, equipment, and debris from the installation zone before the shift begins.
- Degrease the surface. Apply an industrial degreaser and scrub the floor to remove oil, grease, and embedded grime. Allow it to dry completely before moving to the next step.
- Wipe with isopropyl alcohol. Use clean cloths or mop pads soaked in isopropyl alcohol (70% concentration or higher) to perform a second-stage wipe. The surface must be free of particles larger than 50 microns for full adhesive contact. This step removes what degreasing leaves behind.
- Inspect for surface damage. Walk the entire installation zone and mark any cracks, spalls, or uneven sections. Applying tape on damaged or uneven concrete causes edge lifting and hazards within weeks. Repair minor defects with fast-setting concrete patch and allow it to cure before proceeding.
- Check floor flatness. Uneven floors create gaps under tape edges. Review the impact of floor flatness on marking durability before committing to a tape-only solution on problem surfaces.
- Verify ambient conditions. Confirm the floor and air temperature fall within the tape manufacturer’s recommended range. Humidity above 85% also slows adhesive bonding.
- Allow new concrete to cure fully. New concrete requires a minimum of 28 days of curing before tape application. Applying tape earlier traps moisture and guarantees bond failure.
Pro Tip: Standard chalk lines leave loose pigment particles that act like ball bearings under tape. Wipe chalk guide lines with isopropyl alcohol before laying tape to eliminate this hidden adhesion failure point.
What layout and marking strategies ensure alignment, visibility, and compliance?
Layout accuracy determines whether your floor markings guide traffic safely or create confusion. A skewed aisle line in a 300-foot bay compounds over distance and can misalign an entire zone.
Laser levels achieve less than 3mm tolerance over 30 meters, making them the correct tool for long aisle runs. Manual measuring with a tape measure causes drift that becomes visible and hazardous over long distances. Use a laser level for any run longer than 20 feet.
Key layout best practices for overnight installations:
- Mark intersections first. Pre-marking intersections prevents compounded alignment errors as lines extend outward. This is the most common mistake crews skip under time pressure.
- Follow OSHA width standards. OSHA requires a minimum 2-inch width for floor markings, but best practice uses 4–6 inch widths for visibility and adhesion. Pedestrian aisles are typically 28 inches wide. Confirm your aisle widths meet OSHA warehouse marking requirements before taping begins.
- Use consistent color coding. Yellow marks traffic lanes and pedestrian paths. Red marks hazard zones. White marks storage areas. Mixing color assignments across zones creates confusion and increases incident risk.
- Plan forklift routing separately. Forklift lanes require wider markings and clear sight-line consideration at corners. Review aisle marking and forklift routing standards when designing mixed-traffic zones.
- Photograph the layout before taping. A photo record of the chalk or laser guide lines gives you a reference if tape shifts during application or if a section needs to be redone.
Troubleshoot alignment errors before the tape goes down, not after. Repositioning tape that has already bonded wastes time and often damages the surface, requiring another cleaning cycle.
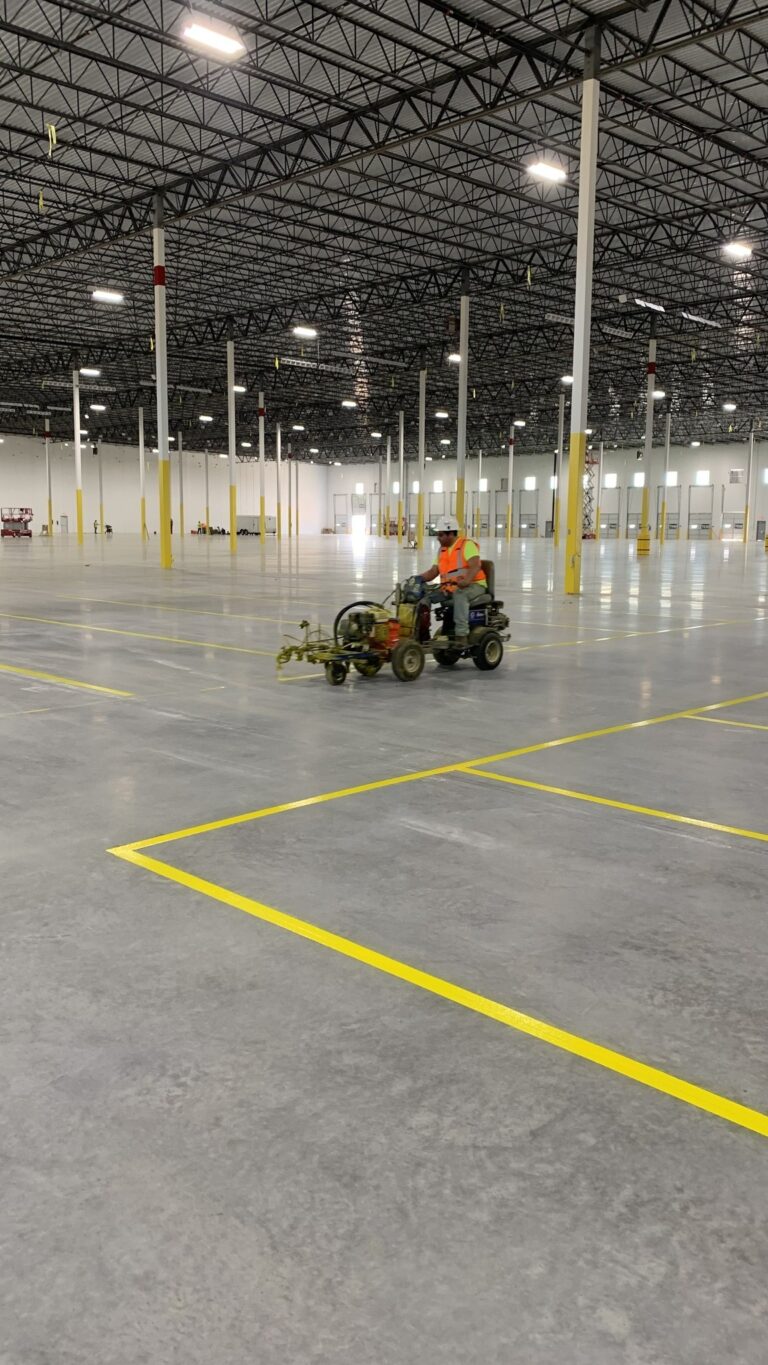
How to apply floor marking tape efficiently during overnight installation?
Correct application technique determines whether the tape lasts 3 years or 3 months. Speed matters during overnight installs, but cutting corners on application pressure or tension creates failures that show up within weeks.
Follow this step-by-step application sequence:
- Position the tape roll at the starting point. Align the tape edge with your guide line. Do not stretch the tape as you unroll it. Tension causes the tape to contract after application, pulling edges away from the floor.
- Peel and lay in short sections. Work in 3–5 foot sections, pressing the tape firmly as you go rather than unrolling a long run and pressing afterward.
- Apply roller pressure immediately. Use a floor tape applicator or hand roller to press the tape down with uniform force. Uniform pressure is the single most effective method to prevent adhesive failure. Roll from the center of the tape outward to push air bubbles toward the edges.
- Seal all edges and corners. Press tape edges firmly with the roller or a seam roller tool. Corners and endpoints are the first places edge lifting begins.
- Verify alignment as you go. Check against your guide line every 10 feet. Correct small deviations immediately. Waiting until the end of a run makes correction much harder.
- Allow dwell time before traffic. Most floor tapes can be walked on immediately but require 24–48 hours before heavy forklift traffic to reach full bond strength. Communicate this restriction to shift supervisors before the facility reopens.
Pro Tip: For large installations covering thousands of square feet, use a wheeled tape applicator rather than a hand roller. It maintains consistent pressure across the full tape width, reduces crew fatigue, and cuts application time significantly on long aisle runs.
How to finish and verify the installation for long-term durability?
Post-application verification is not optional. A thorough check at the end of the overnight shift catches problems before the morning crew arrives and before forklifts create irreversible damage.
Run through this checklist before signing off on the installation:
- Inspect all tape edges. Walk every marked line and press down any edge that has not fully bonded. Pay extra attention to corners, endpoints, and areas near surface repairs.
- Check for air bubbles. Small bubbles under the tape surface indicate incomplete roller pressure. Use a seam roller to press them flat before the adhesive fully sets.
- Photograph the completed installation. Dated photos serve as a baseline for future inspections and support OSHA compliance documentation.
- Log the installation details. Record the tape type, batch number, surface temperature at time of application, and any surface repairs made. This record supports SLA maintenance tracking and simplifies future audits.
- Schedule the first inspection. Safety experts advise regular marking audits and prompt repairs to keep floor markings effective and compliant. Set the first post-installation inspection for 30 days after completion.
- Include markings in routine safety checks. Consistent use of floor marking checks within routine safety inspections identifies peeling early, preventing regulatory citations and workplace hazards.
Worn or peeling markings are a direct OSHA citation risk. Catching edge lift at 30 days costs minutes to fix. Ignoring it until a marking is gone costs a full reinstallation.
Key Takeaways
A successful overnight floor marking installation depends on surface preparation, accurate layout, correct tape application, and post-installation verification, in that order.
| Point | Details |
|---|---|
| Surface prep prevents failure | Two-stage cleaning with degreaser and isopropyl alcohol eliminates 90% of adhesive failure causes. |
| Repair before you tape | Damaged or uneven concrete causes edge lifting within weeks; patch defects before installation begins. |
| Use laser levels for layout | Laser levels hold less than 3mm tolerance over 30 meters, preventing compounded alignment errors. |
| Apply consistent roller pressure | Uniform pressure from a roller applicator is the most effective method to prevent premature tape failure. |
| Verify and document post-install | Photograph, log, and schedule a 30-day inspection to catch early failures and support OSHA compliance. |
What I’ve learned from overnight floor marking projects
The biggest mistake I see facility managers make is treating surface preparation as a time cost rather than an investment. When a crew rushes the cleaning phase to gain 30 minutes on the clock, they typically create a failure that requires a full reinstallation within two months. That math never works out.
The second lesson is about layout. Marking intersections first sounds like a small detail, but in a 500,000-square-foot distribution center, a half-degree error at the first intersection becomes a 4-foot misalignment by the end of the bay. Laser levels are not a luxury for large facilities. They are the only tool that holds tolerance across long runs.
I’ve also seen facilities treat overnight installations as one-time events rather than part of an ongoing safety system. The best-performing facilities integrate floor markings into their lean operations and schedule quarterly visual audits. That habit keeps markings compliant and eliminates the cycle of emergency reinstallations.
Quality materials and proper tools are not where you cut costs on an overnight project. The labor is already scheduled. Saving $200 on tape that fails in six weeks costs far more in downtime and rework than the original savings justified.
— ET
Warehouse Line Striping: professional support for your next installation
Warehouse Line Striping works with facility managers and logistics coordinators across the country to plan and execute overnight floor marking installations that meet OSHA standards and hold up under heavy industrial traffic.
With over 10,000 completed projects and industrial-grade epoxy coatings rated to last 3–7 years, Warehouse Line Striping brings the materials, tools, and process discipline that overnight installations demand. Their team offers 24/7 support and professional removal of outdated markings before new ones go down. For facilities managing complex inventory flow, the floor marking systems for inventory flow guide covers layout strategies tailored to high-volume operations. Facilities that need material selection guidance can also review the industrial floor marking material guide to choose the right tape or coating for their specific floor conditions.
FAQ
What causes most overnight floor marking installations to fail?
Improper surface cleaning causes 90% of adhesive failures. Skipping the two-stage cleaning protocol or applying tape over damaged concrete are the two most common failure points.
How wide should floor markings be to meet OSHA standards?
OSHA requires a minimum 2-inch width for floor markings, but industry best practice uses 4–6 inch widths for better visibility and stronger adhesion in high-traffic areas.
When can forklifts use aisles after overnight tape installation?
Most floor tapes require 24–48 hours before heavy forklift traffic, though foot traffic is generally safe immediately after application.
How often should floor markings be inspected after installation?
Safety experts recommend regular marking audits with prompt repairs to prevent regulatory citations. A 30-day post-installation inspection followed by quarterly checks is the standard best practice.
Do I need a laser level for a small overnight installation?
Laser levels are critical for any aisle run longer than 20 feet. For shorter runs, a chalk line wiped clean with isopropyl alcohol works, but laser levels hold less than 3mm tolerance over 30 meters and eliminate compounded alignment errors in larger spaces.