How Floor Markings Aid New Employee Training
Floor markings are defined as color-coded lines, symbols, and zones applied directly to facility floors to communicate safety rules, traffic paths, and work area boundaries without verbal instruction. For HR professionals and training coordinators, understanding how floor markings aid new employee training is the difference between a chaotic first week and a confident, productive new hire. Facilities with comprehensive floor marking systems report up to 35% fewer navigation-related incidents. That number reflects real cost savings in incident reports, supervisor time, and onboarding friction. The industry term for this approach is visual management, and floor markings are its most permanent, physical form.
How floor markings aid new employee training from day one
A well-designed floor marking system functions as a self-teaching environment. New employees do not need a supervisor walking beside them to know where forklifts travel, where pedestrians belong, or where hazardous materials are stored. The color-coded system communicates all of that instantly, at floor level, exactly where attention naturally falls in a busy facility.

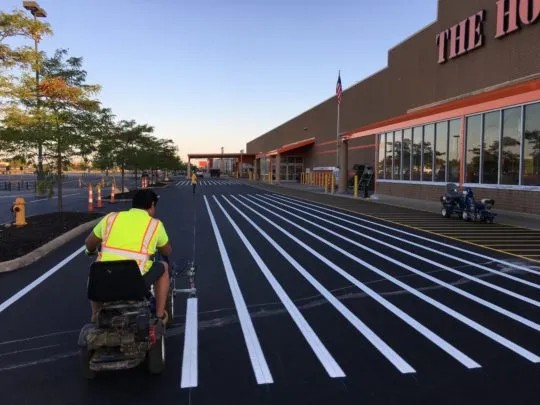
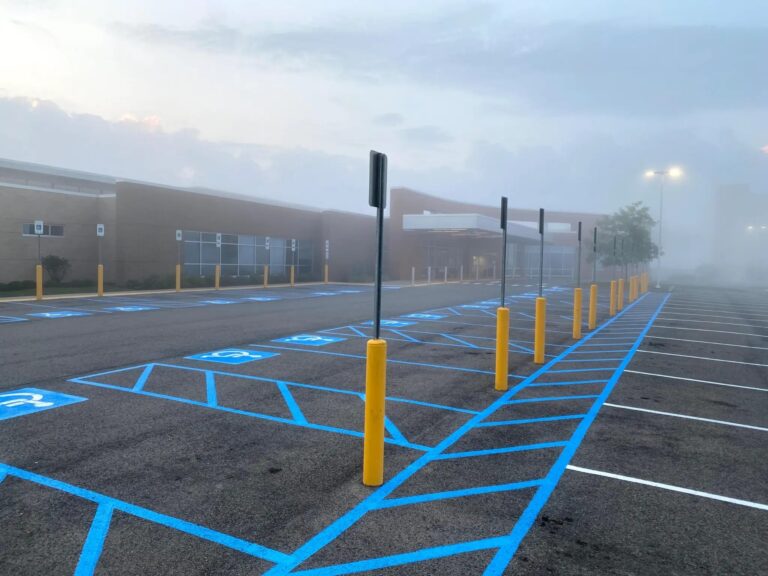
OSHA and ANSI both publish color standards that most facilities adopt as a baseline. Yellow marks traffic aisles and pedestrian walkways. Red identifies fire safety equipment and emergency stops. Orange signals dangerous machine parts or energized equipment. Green marks first aid stations. White outlines workstations and equipment locations. When new hires learn these five colors on day one, they carry a mental map that applies across every warehouse or distribution center they ever work in.
The benefits of floor markings go beyond hazard identification. Color-coded zones reduce the ambiguity that causes new employees to hesitate, ask repetitive questions, or wander into restricted areas. That hesitation costs time and creates risk. A clear floor layout removes the guesswork entirely.
- Yellow: pedestrian paths and traffic aisles
- Red: fire equipment, emergency stops, and scrap areas
- Orange: dangerous machine parts or energized zones
- Green: first aid and safety equipment stations
- White: workstations, equipment, and finished goods areas
Pro Tip: Create a one-page color legend and post it at every facility entrance. New hires can reference it during their first week without interrupting supervisors.
Spatial awareness improves measurably when new employees can read the floor. Floor markings help employees recognize designated homes for equipment and identify misplaced items immediately. That recognition builds confidence faster than any orientation slide deck.
How to integrate floor marking education into onboarding sessions
Knowing the colors is not enough. New employees need structured instruction that connects the markings to real behavior on the floor. Experts recommend 90-minute training sessions for groups of 15–20 workers covering colors, symbols, and pathway patterns before anyone begins floor operations. That session length is deliberate. It allows time for explanation, questions, and a physical walk-through.
A structured floor marking training session should follow this sequence:
- Classroom overview (20 minutes). Cover the OSHA and ANSI color standards, your facility-specific symbols, and any custom zones unique to your layout.
- Floor walk (40 minutes). Walk new hires through the actual facility. Stop at each zone type and explain the marking’s purpose in that specific context.
- Scenario practice (20 minutes). Give employees a route card and ask them to trace a path from receiving to shipping using only floor markings as their guide.
- Q&A and debrief (10 minutes). Address confusion, reinforce the most critical safety zones, and explain how to report damaged or faded markings.
Hands-on engagement like floor walk-throughs reduces confusion at complex intersections and improves safety compliance far more than passive map handouts. The physical act of tracing a route locks in spatial memory in a way that a diagram never does.
Refresher training matters too. Schedule a 30-minute floor marking review at the 30-day and 90-day marks for every new hire. Pair that with your broader hazard communication program so employees connect floor zones to the materials and equipment they represent. Floor markings must be integrated with other safety measures such as signage, hazard communication, and ongoing training to produce lasting behavior change. Markings alone, without a supporting safety culture, have limited impact.
Pro Tip: Assign a “floor marking buddy” to each new hire for their first two weeks. This peer mentor reinforces what the markings mean in real operational context, not just in a training room.
Floor markings vs. other visual aids in training: which works best?
Visual aids in training take many forms. Printed maps, digital kiosks, overhead signage, and safety posters all play a role. Floor markings occupy a unique position in that comparison because they exist at the point of action, not on a wall or a screen.
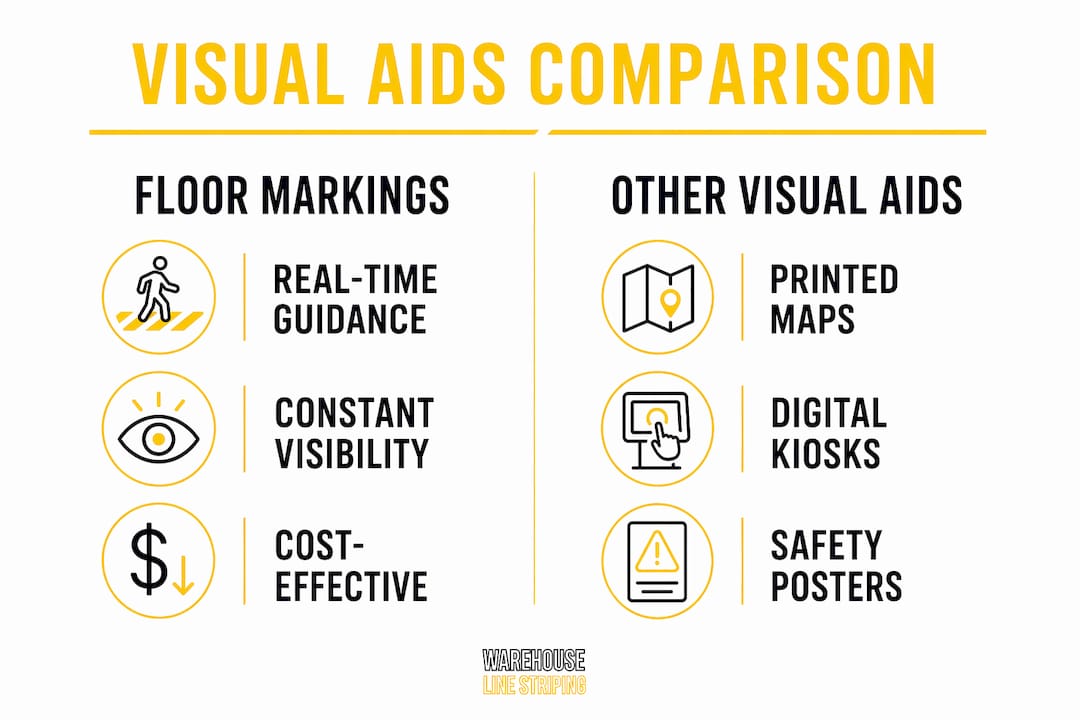
| Visual Aid | Strengths | Limitations |
|---|---|---|
| Floor markings | Real-time, physical guidance; always visible; OSHA-compliant | Require professional installation and periodic maintenance |
| Overhead signage | High visibility from a distance | Easy to overlook at ground level during task focus |
| Printed facility maps | Useful for pre-shift orientation | Not accessible during active work; static and quickly outdated |
| Digital kiosks | Interactive and updatable | Expensive; not available at the point of decision |
| Safety posters | Low cost; good for reinforcement | No spatial context; ignored over time |
Floor marking tape is a cost-effective visual guidance tool that allows easy updates without expensive renovations. That flexibility matters for training coordinators who need to adjust layouts as operations change. A digital kiosk requires a software update and IT involvement. A floor marking update requires tape, paint, or epoxy and a few hours of labor.
Floor markings also serve as the physical anchor for 5S and Lean methodology training. 5S methodology uses floor markings to teach Sort, Set in Order, and Sustain, speeding up new hire understanding of workplace organization. When a new employee sees a labeled outline on the floor for a pallet jack, they immediately understand where it belongs and when it is missing. No verbal instruction required. For more on this connection, the guide on floor markings and Lean operations covers the methodology in detail.
Best practices for maintaining floor markings to sustain training effectiveness
A faded or damaged floor marking is worse than no marking at all. It creates false confidence and sends mixed signals to new employees who are still learning the system. Maintenance is not optional. It is part of the training infrastructure.
The most effective maintenance programs share three characteristics. They are frequent, they involve employees at all levels, and they connect directly to the facility’s safety culture.
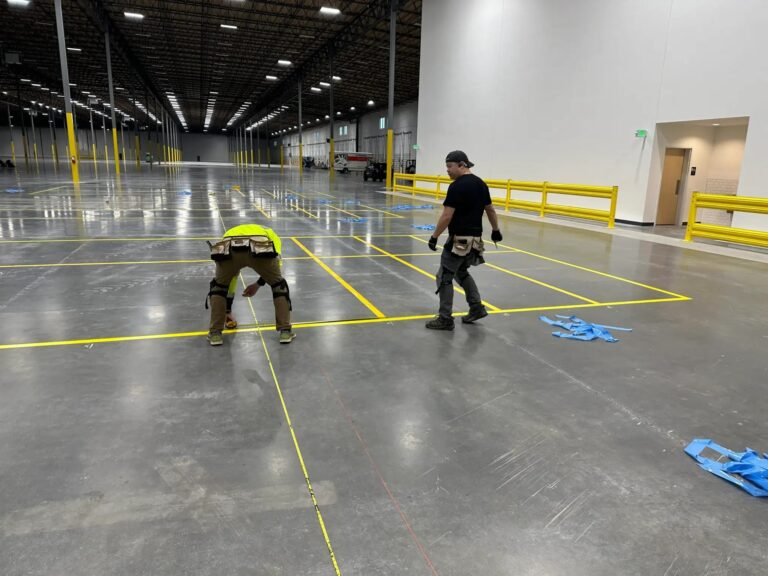
- Daily inspections during 5S or Gemba walks. Including new employees in daily floor marking inspections teaches them to notice and report faded or damaged markings. This practice reinforces safety culture while keeping the system accurate.
- Scheduled quarterly audits. A formal audit every 90 days catches gradual wear before it becomes a safety issue. Document findings and track repair timelines.
- Prompt repair protocols. Establish a clear process for reporting and repairing damaged markings within 24–48 hours. Delays signal to employees that safety standards are negotiable.
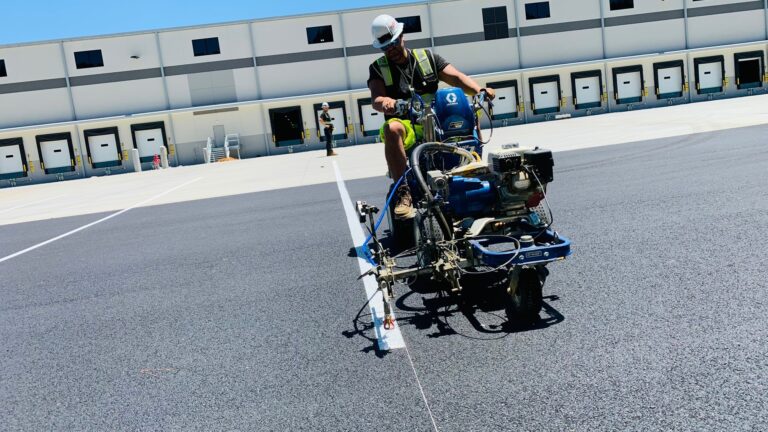
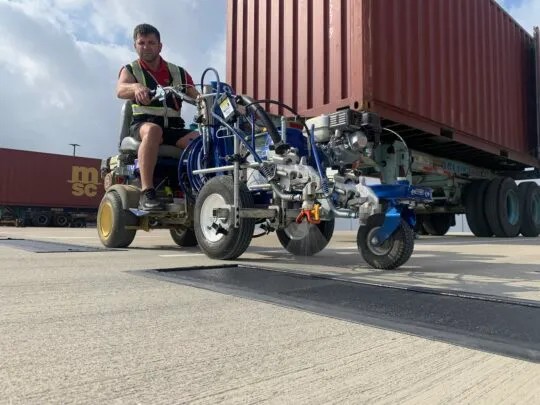
- Material selection for durability. UV curing technology allows quick floor marking application without operational downtime, with high chemical and mechanical resistance. Epoxy coatings from Warehouse Line Striping last 3–7 years under heavy industrial use, reducing the frequency of repairs significantly.
Pro Tip: Add a floor marking condition rating to your standard Gemba walk checklist. A simple 1–3 scale (good, needs attention, replace immediately) gives you actionable data without adding significant time to the walk.
For facilities with high forklift traffic or chemical exposure, floor layout best practices for high-volume facilities provide specific guidance on material selection and zone placement that holds up under demanding conditions.
Key takeaways
Floor markings are the most cost-effective, always-on visual training tool available to HR professionals and training coordinators in industrial facilities.
| Point | Details |
|---|---|
| Self-teaching system | Color-coded markings guide new hires through safe navigation from day one without constant supervision. |
| Structured onboarding sessions | 90-minute group training with floor walks produces better retention than passive handouts or maps. |
| Integrated safety approach | Markings work best when paired with signage, hazard communication, and refresher training programs. |
| 5S and Lean alignment | Floor markings physically anchor Lean principles, helping new employees understand workplace organization immediately. |
| Maintenance sustains training | Daily inspections involving new hires reinforce safety culture and keep the marking system accurate and credible. |
What I have learned from floor marking-based training programs
The biggest mistake I see training coordinators make is treating floor markings as a passive backdrop. They install a solid system, walk new hires through it once, and then assume the job is done. The markings do the rest. That assumption is wrong.
Floor markings are an active communication system. They require active training methods to unlock their full value. The facilities where I have seen the sharpest improvement in onboarding speed and incident reduction are the ones where supervisors treat the floor as a teaching tool every single day, not just during orientation week.
The second lesson is about culture. A new employee who sees a faded yellow line that nobody has repaired in three months learns something important: safety standards here are approximate. That message travels faster than any safety poster. Maintenance is not a facilities issue. It is a training issue.
The third lesson is integration. Floor markings are most effective as part of a comprehensive safety strategy integrated with signage and training programs. The facilities that treat markings as one layer in a coordinated system, alongside OSHA-compliant signage, hazard communication, and regular refresher sessions, consistently outperform those that rely on markings alone. Start with the floor. Build the system around it.
— ET
How Warehouse Line Striping can upgrade your training floor
Improving employee onboarding starts with a floor that communicates clearly. Warehouse Line Striping designs and installs OSHA-compliant floor marking systems built specifically for warehouses, distribution centers, and industrial facilities nationwide. Every project is customized to your layout, your traffic patterns, and your training goals.
From initial consultation through installation and long-term maintenance, Warehouse Line Striping handles every phase with industrial-grade epoxy coatings that last 3–7 years. Their team has completed over 10,000 projects and offers 24/7 support to minimize disruption to your operations. If you are ready to build a floor that trains your people from day one, explore the floor marking systems guide or contact Warehouse Line Striping directly to discuss your facility’s needs.
FAQ
How do floor markings reduce new employee training time?
Floor markings create a self-teaching environment where new hires can navigate safely without constant supervisor guidance. Facilities with comprehensive systems report up to 35% fewer navigation-related incidents, which directly reduces onboarding friction and supervision costs.
What colors should floor markings use for new hire training?
OSHA and ANSI standards recommend yellow for pedestrian paths, red for fire and emergency equipment, orange for hazardous machine zones, green for first aid stations, and white for workstations. Teaching these five colors in the first training session gives new employees an immediate framework for safe navigation.
How long should a floor marking training session be?
Experts recommend 90-minute sessions for groups of 15–20 workers, covering colors, symbols, and pathways before floor operations begin. The session should include a physical floor walk to reinforce spatial memory beyond what classroom instruction alone can achieve.
Are floor markings better than signs for training new employees?
Floor markings and overhead signs serve different functions. Markings provide real-time guidance at the point of action, while signs offer visibility from a distance. The most effective training programs use both as part of an integrated visual management system.
How often should floor markings be inspected to stay effective for training?
Daily inspections during 5S or Gemba walks are the standard for high-traffic facilities. Formal audits every 90 days catch gradual wear, and damaged markings should be repaired within 24–48 hours to maintain the credibility of the safety system with new and existing employees.