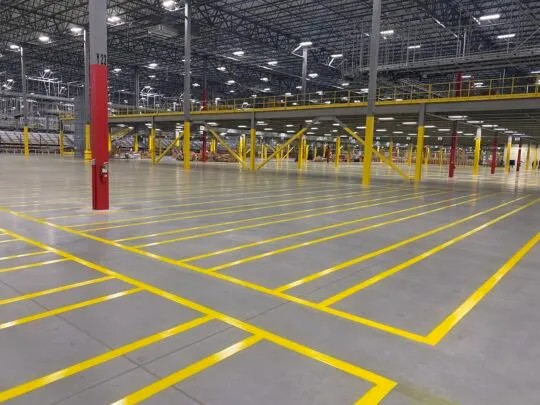
Cross-Docking Floor Layout Examples for Warehouses
Getting the floor plan wrong in a cross-docking facility does not just slow things down. It creates cascading bottlenecks that ripple through every shift, every carrier window, and every outbound cut-off. Warehouse planners searching for examples of cross-docking floor layouts are usually dealing with a real operational problem: freight sitting too long, dock congestion building up, or staging areas that never seem large enough. This article breaks down the most common layout types, compares their strengths, and gives you the criteria to match a design to your actual operation.
Table of Contents
- Key takeaways
- 1. Criteria for evaluating cross-docking floor layouts
- 2. The I-shaped layout
- 3. The T-shaped layout
- 4. The L-shaped layout
- 5. The U-shaped layout
- 6. The X-shaped layout
- 7. Layout comparison at a glance
- 8. Advanced considerations for optimizing your layout
- 9. Selecting the right layout for your operation
- My take on why layout is only half the battle
- Precision floor marking makes your layout actually work
- FAQ
Key takeaways
| Point | Details |
|---|---|
| Layout shape drives flow | Each layout type (I, T, L, U, X) creates distinct traffic patterns that directly affect throughput speed. |
| Size and door count matter | Industry standards recommend matching layout complexity to door count, with X-shaped designs for 200+ door facilities. |
| Staging must be sized correctly | Staging areas should absorb predictable variability, not serve as permanent overflow zones for chronic backlog. |
| Floor markings are operational tools | Clear floor markings guide workers, define safety zones, and prevent loading confusion during high-velocity periods. |
| Layout alone is not enough | Carrier coordination and real-time visibility are equally critical to making any floor plan perform at its potential. |
1. Criteria for evaluating cross-docking floor layouts
Before you commit to any design, you need a framework for evaluating what actually matters in your operation. Not every facility has the same freight mix, carrier schedules, or throughput targets. Here are the core criteria that should drive your layout decision:
- Dock door placement and flow efficiency. Receiving and shipping doors placed on opposite long sides of the building create direct, straight-line freight movement. Opposite-side dock placement reduces handling time and minimizes the distance freight travels across the floor.
- Staging area sizing. Your staging lanes should be sized for predictable variability in arrival and departure times. If they are chronically overflowing, that signals a planning or operational problem, not necessarily a need for more square footage.
- Traffic flow and congestion management. High-velocity facilities need clearly defined inbound and outbound paths that do not cross. Intersecting flows are where accidents and delays originate.
- Flexibility for peak periods. The layout should accommodate seasonal surges or mixed freight types without requiring a complete operational overhaul.
- Safety and floor marking. Floor and aisle markings are critical communication tools that guide workers, identify safety zones, and prevent loading confusion under high-velocity conditions.
Pro Tip: Before finalizing any layout, walk the floor during a peak shift and physically trace the path freight takes from inbound dock to outbound dock. You will find friction points that no blueprint reveals.
2. The I-shaped layout
The I-shaped layout is the most straightforward cross-docking design you will find. Receiving doors line one long side of the building, shipping doors line the opposite long side, and freight moves in a straight line across the floor.
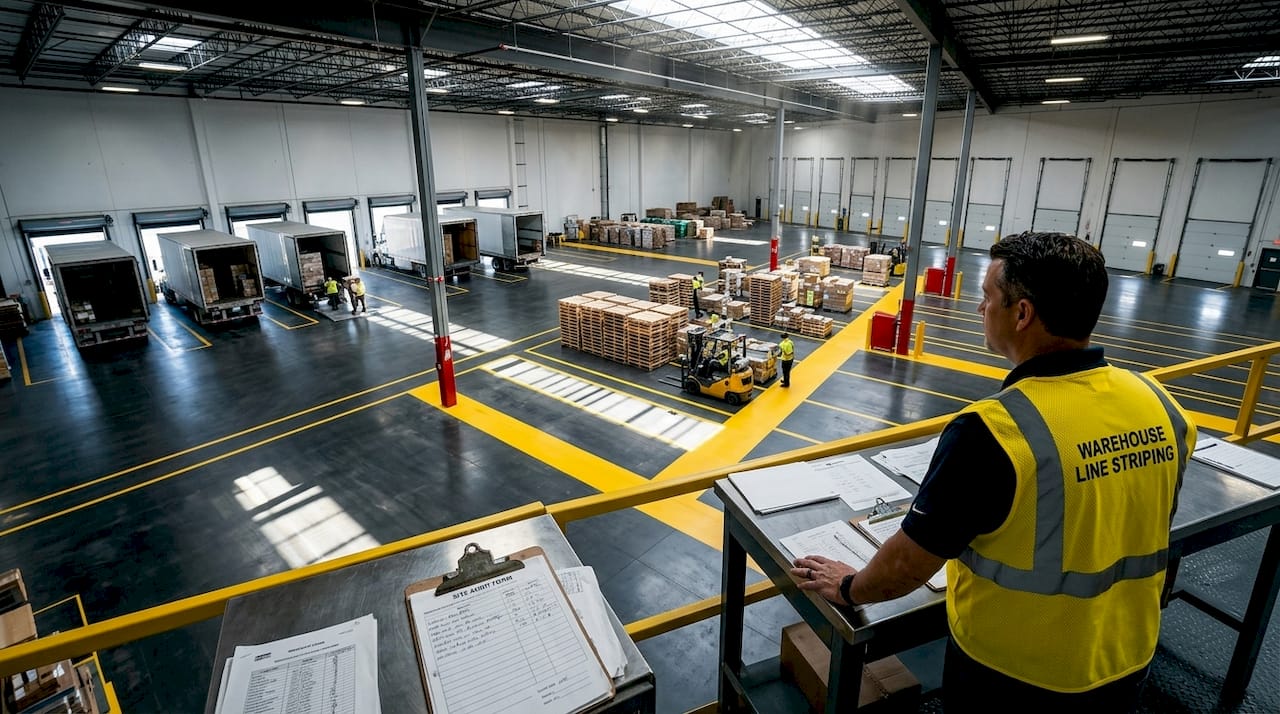
A standard I-shaped facility is approximately 100 feet wide from dock face to dock face. That width typically breaks down into 10-foot safety zones on each side, a 20-foot lateral movement path, and a 40-foot central staging area. It is clean, predictable, and easy to manage.
This layout works best for smaller operations with fewer than 100 dock doors and a relatively uniform freight type. The limitation is scalability. As door count grows, the building gets longer, and the distance freight travels from one end to the other starts creating handling inefficiencies.
3. The T-shaped layout
The T-shaped layout adds a perpendicular wing to the I-shaped base, creating a staging area that extends outward from the center of the building. This design supports a higher door count without requiring an extremely long building footprint.
Industry standards point to T-shaped designs as the right fit for facilities with 150 to 200 doors. The added wing gives you expanded staging capacity and allows for better product sorting by category or destination. The trade-off is increased complexity in traffic routing. Workers and equipment moving through the junction point of the T need clearly marked paths to avoid congestion.
This layout suits regional distribution centers handling multiple product categories with moderate sorting complexity. If you are running a cross-docking operation that blends full truckload and less-than-truckload freight, the T-shape gives you the room to separate those flows.
4. The L-shaped layout
The L-shaped layout works well when a facility’s site constraints prevent a straight or T-shaped footprint. One wing handles receiving, the other handles shipping, and the corner becomes the central staging and sorting zone.
This design is practical for mid-size operations where land is not perfectly rectangular or where an existing building must be adapted. The corner staging area can be a significant advantage for organizing freight by destination before it moves to outbound docks. The challenge is that the corner creates a natural chokepoint. Without precise floor marking and clear traffic lanes, that junction becomes a congestion source during peak hours.
L-shaped layouts are common in urban distribution facilities where site geometry limits your options. They are not the first choice for pure efficiency, but they perform well when the alternative is a poorly adapted I-shape that does not fit the property.
5. The U-shaped layout
The U-shaped layout wraps receiving and shipping operations around three sides of a central staging area. Inbound freight arrives on one side, sorting happens in the center, and outbound freight departs from the opposite side, with additional dock capacity on the connecting side.
This design handles multiple product categories and complex sorting requirements better than any of the simpler layouts. The central staging zone is large and accessible from multiple directions, which supports high-SKU operations where freight needs significant sorting before it moves to outbound docks.
The U-shape is well suited for cross-dock shipping operations that handle mixed freight types or time-sensitive consumer goods requiring careful separation by retailer or region. The downside is that traffic management becomes genuinely complex. You need well-designed floor markings and clear operational protocols to prevent the center staging area from turning into a chaotic mix of inbound and outbound freight.
6. The X-shaped layout
The X-shaped layout is designed for large, high-volume facilities where multiple inbound and outbound flows need to operate simultaneously without interfering with each other. Four wings extend from a central hub, each dedicated to specific freight flows or carrier types.
For facilities exceeding 200 dock doors, the X-shape is the standard recommendation. It allows for true multi-path flow, meaning different freight streams can move through the facility at the same time without crossing paths. The central hub serves as the primary sorting and staging zone.
The complexity of this layout demands serious investment in floor marking, technology, and workforce training. Without all three, the multi-path advantage becomes a liability. Freight gets misrouted, workers lose situational awareness, and the efficiency gains disappear.
7. Layout comparison at a glance
Use this table to quickly match your operational profile to the right layout type.
| Layout | Facility size | Door count | Staging capacity | Best use case |
|---|---|---|---|---|
| I-shaped | Small to medium | Under 100 | Moderate | Uniform freight, simple operations |
| T-shaped | Medium to large | 150 to 200 | High | Mixed freight, regional distribution |
| L-shaped | Small to medium | Under 150 | Moderate | Site-constrained facilities |
| U-shaped | Medium to large | 100 to 200 | Very high | Multi-category, complex sorting |
| X-shaped | Large | 200 or more | Maximum | High-volume, multi-flow operations |
Pro Tip: Do not choose a layout based on door count alone. A facility running 80 doors with highly variable carrier arrival times may perform better with a U-shaped layout than a larger I-shaped one, because the staging flexibility matters more than the footprint.
8. Advanced considerations for optimizing your layout
Choosing the right shape is only the starting point. The details of how you implement that layout determine whether it actually performs.
- Simulate before you build. Misjudging dock capacity or traffic flow during the design phase is a primary cause of facility failure. Simulation tools let you model freight movement, congestion zones, and staging utilization before a single wall goes up.
- Size staging lanes for variability, not averages. If your carriers have a 30-minute arrival window, your staging lanes need to hold freight for that window without backing up into traffic lanes.
- Invest in automation where it pays. Conveyor systems and automated sorting equipment change the math on staging area sizing and door count requirements. Do not design a manual-operation layout and then add automation later without revisiting the floor plan.
- Use floor markings as an operational layer. Color-coded zones, directional arrows, and clearly marked safety boundaries are not just compliance requirements. They are the communication system your workers rely on when freight is moving fast and there is no time to ask questions.
- Track outbound cut-offs relentlessly. Missing outbound cut-offs causes 24-hour shipment delays and disproportionate labor spent on exception management. Your layout needs to support, not hinder, the discipline required to hit those windows.
9. Selecting the right layout for your operation
Small to medium operations with predictable freight types and fewer than 100 doors should start with the I-shaped layout. It is the easiest to manage, the simplest to mark, and the lowest-risk design for an operation that does not yet have the staffing or technology to handle routing complexity.
Mid-size operations handling mixed freight or serving multiple retail customers should look seriously at the T-shaped or L-shaped options. The T-shape gives you expanded staging without a dramatic jump in complexity. The L-shape is the right call when your site dictates it.
Large-scale distribution centers with high door counts, multiple freight categories, and tight carrier windows need the U-shaped or X-shaped layout. These designs support the sorting complexity and parallel flow requirements that smaller layouts simply cannot accommodate. Matching your layout to your actual throughput and complexity profile, rather than building to a theoretical maximum, is what separates facilities that run well from those that struggle despite having the right equipment.
My take on why layout is only half the battle
I have worked with enough distribution centers to say this plainly: the physical layout is one pillar, not the whole structure. I have seen beautifully designed X-shaped facilities underperform because carrier coordination was an afterthought. I have also seen modest I-shaped operations run with extraordinary efficiency because the team had real-time visibility into dock assignments and arrival times.
Successful cross-docking is fundamentally a coordination challenge. The floor plan sets the conditions, but the execution depends on communication, technology, and disciplined adherence to cut-off windows. What I find most operations underestimate is the role of floor markings in that execution. When freight is moving fast and workers are making split-second decisions about where to stage a pallet, clear floor markings are the difference between a smooth shift and a chaotic one.
The other thing I see consistently underestimated is staging area sizing. When staging overflows, the instinct is to blame the layout and call for more space. But overflow almost always points to a planning or coordination failure. More square footage will not fix a carrier reliability problem or a cut-off discipline problem.
— ET
Precision floor marking makes your layout actually work
Every layout type discussed in this article depends on one thing to function as designed: workers knowing exactly where to go, what zones to avoid, and how freight should move through the space. That is what professional floor marking delivers.
Warehouse Line Striping has completed over 10,000 floor marking projects across distribution centers and cross-docking facilities nationwide. Their OSHA-compliant epoxy coatings last 3 to 7 years and are applied with minimal disruption to your operation. Whether you are opening a new facility, reconfiguring an existing layout, or replacing worn markings that no longer reflect your current floor plan, Warehouse Line Striping provides nationwide floor marking services tailored to your specific layout and throughput requirements. Regional teams also serve facilities in Florida and Texas. Request a consultation and get your floor working as hard as your team does.
FAQ
What is a cross-docking floor layout?
A cross-docking floor layout is the physical arrangement of dock doors, staging areas, and traffic lanes in a facility designed to transfer freight from inbound to outbound carriers with minimal storage time. The layout shape directly determines how efficiently freight moves through the building.
Which layout works best for high-volume facilities?
X-shaped layouts are the standard recommendation for facilities with more than 200 dock doors, as they support multiple simultaneous freight flows without path interference. T-shaped and U-shaped designs serve mid-range high-volume operations effectively.
How wide should an I-shaped cross-dock facility be?
A standard I-shaped facility runs approximately 100 feet wide from dock face to dock face, incorporating 10-foot safety zones, a 20-foot lateral movement path, and a 40-foot central staging area.
Why do staging areas overflow in cross-docking operations?
Staging overflow typically signals a coordination or planning problem rather than insufficient physical space. Carriers arriving outside their windows or missed outbound cut-offs are the most common root causes.
How do floor markings improve cross-docking efficiency?
Floor markings define inbound and outbound zones, safety boundaries, and directional paths that guide workers during high-velocity periods. They function as a real-time communication layer that reduces misdirected freight and prevents accidents.