Staging Area Markings Explained for Warehouse Managers
Staging area markings are visual indicators that define specific zones within a warehouse, telling workers exactly where goods should be placed, moved, and held at every stage of the operation. The role of staging area markings explained simply is this: they turn an open floor into a structured system that reduces accidents, speeds up material flow, and keeps your facility compliant with OSHA standards 1910.176 and 1910.22. Facilities that implement standardized floor marking systems report up to 35% fewer navigation-related incidents. That number reflects a direct connection between clear floor communication and worker safety. Warehouse Line Striping has applied this principle across more than 10,000 completed projects, and the pattern holds every time: well-marked staging areas outperform unmarked ones on every measurable metric.
How do staging area markings improve workplace safety and compliance?
Staging area markings reduce workplace accidents by creating physical and visual boundaries that workers and equipment operators can read instantly. Without them, pallets drift, forklifts cut through pedestrian paths, and loads pile up in unintended spots. The result is a cascade of near-misses and actual injuries that cost facilities time, money, and regulatory standing.
OSHA standards 1910.176 and 1910.22 require floor markings to identify aisles and work zones in any facility where mechanical handling equipment operates. These are not suggestions. Non-compliance exposes your facility to citations, fines, and liability in the event of an injury. ANSI standards add further guidance on color conventions and marking dimensions to support consistent interpretation across facilities.
One of the most underappreciated safety functions of staging markings is preventing load creep. Load creep happens when pallets gradually migrate outside their designated zones, narrowing aisles and blocking emergency exits. Physical and visual boundaries keep pallets within staging zones far more reliably than verbal instructions or posted signs alone.
“Markings prevent load creep by creating physical and visual boundaries that keep pallets within staging zones, enhancing safety and operational continuity. Physical barriers are more effective than paint or tape alone.”
The distinction between visual markings and physical barriers matters. Paint and tape communicate zone boundaries. Bollards, rack guards, and floor-mounted stops enforce them. The most effective staging setups use both. Visual markings give workers the map; physical barriers make sure the map gets followed even during peak chaos.
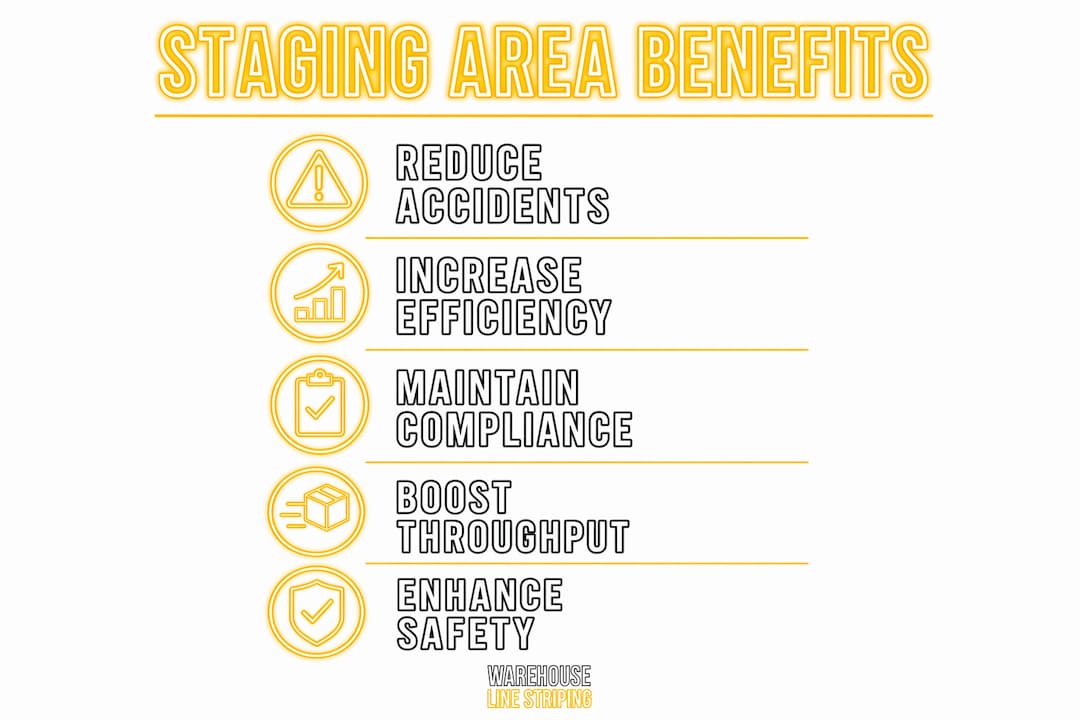
What are the operational benefits of well-defined staging area markings?
Well-defined staging markings do more than prevent accidents. They eliminate wasted motion, reduce search time, and keep material moving at the pace your operation demands. When every zone has a clear label and boundary, workers stop guessing and start executing.
The operational case for markings centers on timing. Truck arrivals and internal processing rarely sync perfectly. Designing staging areas for peak volume rather than average demand gives your floor the buffer it needs to absorb those gaps without creating bottlenecks. Marked zones act as holding areas that keep inbound freight organized while processing catches up.
Clear lane assignments and labels deliver measurable gains in material handling speed. When a loader can read a zone label from 30 feet away and knows exactly which carrier, route, or priority level belongs there, the entire loading sequence accelerates. Consistent zone labeling by carrier name, route, or priority reduces confusion and speeds up the locate-and-load cycle significantly.
Key operational benefits of well-marked staging areas include:
- FIFO enforcement: Marked lanes that indicate arrival sequence help workers pull inventory in the correct order, reducing spoilage and compliance risk. Learn more about how FIFO floor markings work in practice.
- Pick path clarity: Defined zones eliminate the back-and-forth travel that adds minutes to every pick cycle.
- SKU organization: Zone labels tied to product categories or SKU ranges reduce mis-picks and misplaced inventory.
- Carrier and route separation: Dedicated lanes for each carrier prevent mixed loads and loading errors at the dock.
Pro Tip: Mark your staging zones with both a color code and a text label. Color gives workers an instant visual cue from a distance; text confirms the detail when they arrive at the zone.
What are the best practices for marking staging areas effectively?
Effective staging area markings follow specific dimensional and color standards that make them readable, durable, and compliant. Getting the specifications right from the start prevents costly rework and keeps your floor legible through heavy forklift traffic.
Dimensions and visibility standards
Industry standards recommend floor marking lines 4–6 mm thick and text 50–80 mm tall, with an accuracy tolerance of ±2–5 mm. These dimensions are not arbitrary. Lines thinner than 4 mm disappear under normal wear within weeks in high-traffic zones. Text shorter than 50 mm becomes unreadable from forklift height. Hitting these specs from day one extends the effective life of your markings and reduces the frequency of touch-ups.
Color coding conventions
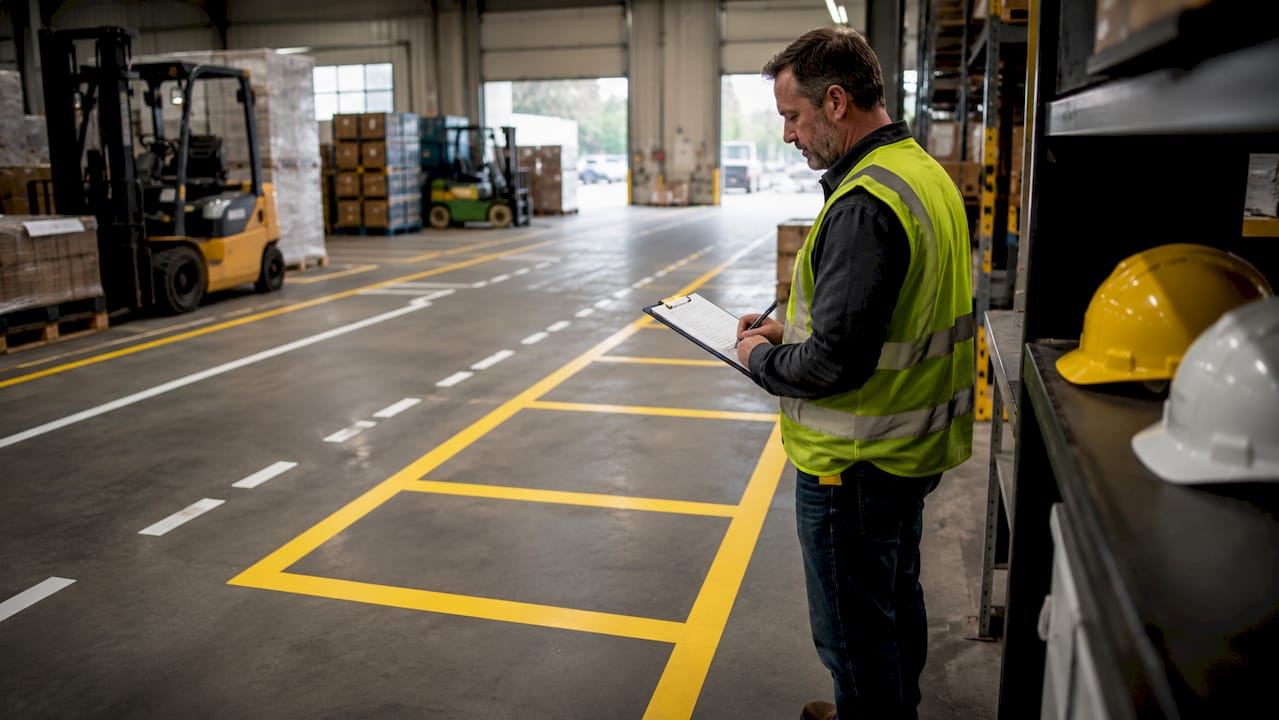
Color coding is the fastest communication tool on your warehouse floor. White markings typically designate equipment locations and workstations. Green marks finished goods areas and safety zones. Yellow defines traffic lanes and aisle boundaries. Red signals hazardous areas or nonconforming product zones. Applying these conventions consistently across your facility means any worker, including new hires and contractors, can read the floor without a briefing.
Inspection and maintenance protocols
High-traffic marking lines require inspection every 48–72 hours to catch fading or damage before it creates a safety gap. Regular inspections and quick touch-ups reduce layout disputes and prevent costly full rework. Facilities that skip routine checks often face a compounding problem: faded lines lead to zone violations, zone violations lead to load creep, and load creep leads to incidents.
The table below summarizes the key marking specifications and their purpose:
| Specification | Standard | Why it matters |
|---|---|---|
| Line thickness | 4–6 mm | Maintains visibility under forklift traffic |
| Text height | 50–80 mm | Readable from forklift and pedestrian height |
| Accuracy tolerance | ±2–5 mm | Prevents zone overlap and boundary disputes |
| Inspection interval | Every 48–72 hours | Catches fading before it creates safety gaps |
| Color coding | ANSI/OSHA conventions | Enables instant zone recognition for all workers |
When choosing between visual markings and physical barriers, apply this rule: use visual markings to communicate, and physical barriers to enforce. Paint and tape define the zone. Bollards and rack guards make sure equipment stays within it. For high-stakes zones like dock doors and pedestrian crossings, always combine both.
How do staging markings integrate with warehouse management systems?
Floor markings and warehouse management systems (WMS) work best as a paired system, not as separate tools. The WMS holds the data; the floor markings make that data visible to every worker without requiring a screen.
Floor markings complement WMS pick paths, SKU organization, and FIFO systems by translating digital logic into physical reality. When your WMS assigns a pick path, the floor markings confirm that path visually at every decision point. Workers move faster and make fewer errors because the floor and the system tell the same story.
The connection to Lean 5S methodology is direct. Integrating floor markings within Lean 5S and Six Sigma workflows eliminates waste from unnecessary motion, searching, and confusion. The “Set in Order” and “Standardize” steps of 5S depend entirely on marked zones that workers can follow without supervision. Markings make the standard visible.
Practical integration points between floor markings and WMS include:
- Pick path alignment: Zone labels on the floor match location codes in the WMS, eliminating translation errors.
- SKU zone mapping: SKU organization markings tie physical locations to WMS inventory records, reducing mis-picks.
- FIFO lane sequencing: Numbered or dated lane markings reinforce the WMS-directed pull sequence on the floor.
- Real-time visual cues: Color-coded zones give supervisors an instant read on floor status without pulling a WMS report.
The staging area floor marking workflow becomes a continuous improvement tool when you treat it as a living system. Review your zone layout whenever your WMS data shows recurring bottlenecks. The floor and the system should evolve together.
Key Takeaways
Staging area markings are the single most cost-effective tool for reducing warehouse accidents, enforcing compliance, and accelerating material flow simultaneously.
| Point | Details |
|---|---|
| Safety and compliance | OSHA standards 1910.176 and 1910.22 require floor markings; non-compliance creates direct liability. |
| Load creep prevention | Physical and visual boundaries together stop pallets from drifting into aisles and emergency exits. |
| Operational efficiency | Zone labels by carrier, route, and priority reduce search time and speed up the load cycle. |
| Marking specifications | Lines must be 4–6 mm thick, text 50–80 mm tall, inspected every 48–72 hours in high-traffic areas. |
| WMS integration | Floor markings translate WMS pick paths and FIFO logic into visible, floor-level guidance for workers. |
Why most facilities underestimate their staging markings
The most common mistake I see facility managers make is treating staging markings as a tidiness project. They install them once, check the compliance box, and move on. Then six months later, the zones are faded, pallets are drifting, and the floor has reverted to organized chaos.
The real function of staging markings is operational infrastructure. They are as load-bearing as your racking system. When they fail, your throughput fails with them. I have seen facilities lose hours of productivity per shift simply because workers could not read zone boundaries during a peak period.
The second mistake is designing for average volume. Your staging zones need to handle your busiest day, not your typical Tuesday. Facilities that size and mark their staging areas for peak demand absorb timing mismatches between truck arrivals and processing without grinding to a halt. Facilities that design for average demand create bottlenecks every time volume spikes.
Physical barriers are the piece most managers skip because they cost more upfront. That calculation ignores the cost of a forklift striking a misplaced pallet or an OSHA citation for a blocked aisle. Bollards and rack guards pay for themselves quickly when you account for what they prevent.
Finally, treat your inspection protocol as seriously as your equipment maintenance schedule. A 48-hour inspection cycle sounds frequent until you realize how fast high-traffic markings degrade. Catching a faded line early costs minutes. Ignoring it until it causes an incident costs far more.
— ET
Floor marking solutions from Warehouse Line Striping
Warehouse Line Striping brings over 10,000 completed projects to every engagement, applying industrial-grade epoxy coatings that last 3–7 years under heavy forklift traffic. Their team designs custom staging zone layouts built around your specific dock configuration, carrier mix, and peak volume requirements.
For facility managers ready to bring their staging areas into full OSHA compliance while improving throughput, the Floor Marking Systems for Inventory Flow: 2026 Guide covers everything from zone layout planning to color coding standards and inspection protocols. Warehouse Line Striping also offers floor marking compliance best practices guidance for facilities navigating 2026 regulatory requirements. Installations are completed overnight to keep your operation running without interruption, backed by 24/7 customer support.
FAQ
What is the role of staging area markings in a warehouse?
Staging area markings define specific zones where goods are held, sorted, and moved, giving workers and equipment operators clear visual guidance that reduces accidents and speeds up material flow. They also satisfy OSHA requirements for aisle and work zone identification under standards 1910.176 and 1910.22.
How thick should floor marking lines be in a staging area?
Industry standards recommend lines 4–6 mm thick with text 50–80 mm tall and an accuracy tolerance of ±2–5 mm. Lines thinner than 4 mm wear away quickly under forklift traffic and lose visibility within weeks.
How often should staging area markings be inspected?
High-traffic staging markings require inspection every 48–72 hours. Regular touch-ups prevent fading from creating zone violations, which lead to load creep and potential safety incidents.
What colors should staging area markings use?
White typically marks equipment and workstations, green designates finished goods and safety zones, yellow defines traffic lanes and aisles, and red signals hazardous or nonconforming product areas. Applying ANSI and OSHA color conventions consistently allows any worker to read the floor without additional instruction.
How do staging area markings connect to a warehouse management system?
Floor markings translate WMS pick paths, SKU locations, and FIFO sequences into physical, floor-level guidance that workers can follow without a screen. This alignment reduces mis-picks, eliminates search time, and reinforces Lean 5S standardization across the facility.